Plus Size Fit Checklist: Your Guide to Perfect Fit
TL;DR:
- A plus size fit checklist is a measurement-based tool that helps evaluate garment fit at key stress points, improving shopping accuracy. Properly testing movement, fabric recovery, and design flaws ensures comfortable, well-fitting clothing tailored to your body. Applying the checklist online and choosing custom pieces based on your measurements leads to better fit and wardrobe confidence.
A plus size fit checklist is a structured, measurement-based tool that helps you evaluate whether a garment fits your body correctly across all key stress points, proportions, and comfort zones. Most fit problems plus size women face trace back to three root causes: missing body measurements, brand size variability, and poor fabric recovery. Brands like Arcus Apparel Group and Rose & Thorne have documented these issues in detail, and their findings confirm that a spec-driven fit checklist removes guesswork from every purchase. This guide gives you that checklist, step by step.
1. Start with your plus size fit checklist: measure first
Body measurements are the foundation of every good fit decision. Plus sizes lack standardization, meaning the same size label fits differently across brands. That means your measurements matter more than the number on the tag.
Measure these six points before shopping any new brand:
- Bust: Measure around the fullest part of your chest, keeping the tape parallel to the floor.
- Waist: Measure at your natural waist, the narrowest point between your ribs and hips.
- Hips: Measure around the fullest part of your hips and seat, usually 7 to 9 inches below your natural waist.
- High hip: Measure about 3 to 4 inches below your natural waist. This point matters most for pants and skirts.
- Inseam: Measure from your crotch to your ankle along the inner leg.
- Bicep: Measure around the fullest part of your upper arm. This is critical for fitted sleeves and structured jackets.
Once you have those numbers, match them to the brand’s size chart, not to your usual size. Then read the product fit notes. A note that says “runs small” or “has extra stretch” changes which size you pick. The workflow is simple: measure, check the chart, read the fit notes, then choose.
Pro Tip: Write your measurements in your phone’s notes app so you always have them when shopping online or in store.
2. Check garment balance before anything else
Garment balance refers to how a piece hangs on your body. A well-balanced garment sits level at the hem, does not pull forward or backward at the waist, and lies flat at the neckline without gaping or bunching.
To check balance, put the garment on and stand in front of a full-length mirror. Look at the side seams. They should fall straight down your sides, not rotate toward the front or back. Check the hem. It should be even all the way around. If the back hem is longer than the front, the garment is pulling forward, which usually means the rise or waist needs adjustment.
This check takes less than 30 seconds and catches the most common fit problem in plus size clothing before you commit to a purchase.
3. Test stress points during movement
Static fit tells you very little. The real test happens when you move. Fit testing must reflect real-life movements because neckline and armhole issues only show after 10 to 15 minutes of wear and active use.
Run through this movement sequence after putting on any garment:
- Raise both arms above your head. Check if the hem lifts too high or the waistband pulls down.
- Cross your arms in front of your chest. Check if the back seam pulls or the shoulders restrict movement.
- Bend forward at the waist. Check if the neckline gaps open or the back rides up.
- Sit down fully. Check if the thighs pull tight, the waistband digs in, or the seat feels strained.
- Walk a few steps. Check if the thigh seams rub, the hem swings unevenly, or the fabric bunches at the hips.
“A sit test during fit evaluation is essential because stress and pulling that are invisible standing often become clear when seated or moving.” — Arcus Apparel Group
Pro Tip: Wear the undergarments you plan to pair with the outfit during any fit test. Bra style and underwear cut change how a garment sits and moves.
4. Evaluate neckline and armhole stability over time
Necklines and armholes are two of the most overlooked fit zones in plus size clothing. A neckline that looks fine in the dressing room can gap, stretch, or shift after 15 minutes of normal wear. The same applies to armholes, which can cut into the underarm or restrict shoulder movement once you start moving naturally.
After putting on a garment, wear it for at least 10 to 15 minutes before deciding on fit. Walk around, sit, and reach. Check whether the neckline stays in place or migrates. Check whether the armhole sits comfortably at the underarm without pinching or pulling. A neckline that gapes at the center front usually signals that the bust circumference is too small for the pattern, not that the neckline itself is poorly designed.
Armhole circumference is a specific measurement point in professional fit testing. If you sew or order custom pieces, provide your bicep measurement so the armhole can be sized correctly from the start.
5. Assess fabric stretch and recovery
Stretch and recovery are two different things, and confusing them causes most fabric-related fit failures. Stretch is how far a fabric extends. Recovery is how completely it returns to its original shape after stretching. Poor recovery causes sagging and bagging at the knees, elbows, and waistband even when the garment fits perfectly at purchase.
Test any stretch fabric before buying using the stretch-and-rest method: pull the fabric firmly for 5 to 10 seconds, then release. Fabric with good recovery snaps back quickly and completely. Fabric with poor recovery stays stretched or returns slowly. That slow return is what causes leggings to bag at the knees by midday.
Different garment types need different stretch levels. T-shirts need 25 to 40% stretch, fitted dresses need 40 to 50%, and leggings need up to 75%. Recovery matters equally across all of them. For a practical plus size fabric options checklist, look for these fabric types and their typical behavior:
- Cotton jersey: Moderate stretch, moderate recovery. Good for casual tops and dresses.
- Ponte knit: Low stretch, excellent recovery. Ideal for structured pants and fitted dresses.
- Spandex blends: High stretch, excellent recovery when spandex content is 5% or higher.
- Rayon jersey: High stretch, poor recovery. Avoid for fitted styles that need to hold shape.
- Scuba fabric: Minimal stretch, excellent structure. Great for occasion wear and tailored pieces.
6. Spot common plus size fit pitfalls
Many fit problems in plus size clothing are design and grading failures, not body problems. Improper plus size grading leads to the “box effect,” where garments add volume evenly in all directions instead of shaping around curves at the bust, hips, and thighs. Recognizing these issues helps you shop smarter.
| Fit problem | What it looks like | Root cause |
|---|---|---|
| Neckline gaping | Front neckline pulls away from chest | Bust circumference too small for pattern |
| Box effect | Garment looks boxy, no waist definition | Pattern scaled up without curve adjustments |
| Thigh tightness | Fabric pulls across upper thighs when walking | Hip and thigh ease not graded correctly |
| Bra strap digging | Straps cut into shoulders despite adjustment | Band too loose, not providing enough support |
| Armhole pinching | Underarm fabric cuts in during movement | Bicep and armhole circumference too small |
Bra strap digging deserves special attention. Straps should fine-tune fit, not carry the full weight of the bra. If straps dig in, the band is not doing its job. Check whether the band fits snugly on the tightest hook. If it does not, the band size is the problem, not the strap length.
Pro Tip: When trying on dresses or tops, check whether bust darts point directly toward your bust apex. Darts that sit too high or too low indicate the pattern was not graded for your proportions.
7. Apply your checklist when shopping online
Online shopping removes the ability to try before you buy, which makes your checklist even more important. Personalized fit choices and transparent size charts reduce uncertainty and improve purchase satisfaction. Use this workflow every time you shop online:
- Pull up your saved measurements before opening any product page.
- Read the size chart for that specific brand. Do not assume your usual size transfers.
- Read all fit notes in the product description. Look for phrases like “runs small,” “true to size,” “has stretch,” or “fitted through the hips.”
- Check customer reviews and filter by reviewers who share your measurements or body shape.
- Look at the fabric content. Cross-reference it with your fabric stretch knowledge from the checklist.
- If a brand offers a custom clothing measurement guide, use it before ordering.
For structured garments like blazers and tailored dresses, size up if you are between sizes. For knit garments with good recovery, size to your measurements without adding extra room. For relaxed styles like oversized tops or wide-leg pants, prioritize comfort and movement over a close fit.
8. Use the checklist to build a wardrobe that works
A plus size clothing guide is only useful if it connects to real wardrobe decisions. Once you know your measurements and understand fabric behavior, you can build a wardrobe around pieces that consistently fit well rather than shopping by hope.
Start with your most reliable fit category. If ponte knit pants always fit you well, that fabric and silhouette becomes your baseline. Use it to anchor your wardrobe and branch out from there. When trying a new brand, apply the full checklist to one piece before ordering multiple items. A single successful fit test tells you which size to order across that brand’s range.
For special occasions like parties, concerts, lunch dates, or weddings, apply stricter fit standards. Occasion wear gets worn for hours with limited opportunity to adjust. Run the full movement sequence, the sit test, and the 15-minute wear test before committing. Check the plus size wardrobe essentials list from Primadonsanddonnas to see which silhouettes and styles work best across different events.
Key takeaways
A plus size fit checklist works because it replaces guesswork with repeatable, measurement-based tests that catch fit problems before purchase.
| Point | Details |
|---|---|
| Measure six body points | Bust, waist, hips, high hip, inseam, and bicep measurements are non-negotiable before shopping any new brand. |
| Test movement, not just static fit | Sit, reach, and walk in every garment to reveal stress points invisible when standing still. |
| Check fabric recovery, not just stretch | Fabric that does not snap back quickly will sag and bag at knees and waistbands within hours of wear. |
| Recognize grading failures | Box effect, neckline gaping, and armhole pinching are design problems, not body problems. |
| Apply the checklist online | Read size charts, fit notes, and fabric content before every online purchase to reduce returns. |
Why I stopped trusting the size tag
I spent years buying clothes based on the number on the tag and wondering why nothing fit the way it looked on the model. The shift happened when I started treating fit as a checklist problem instead of a body problem. The first time I measured my bicep before ordering a structured blazer, I realized I had been ordering a size too small in the sleeve for years. The rest of the blazer fit fine. One measurement changed everything.
What surprised me most was how often the problem was the garment, not me. Necklines that gaped, waistbands that rolled, armholes that pinched. Once I understood that plus size fit failures are often design and pattern issues, I stopped blaming my body and started evaluating the garment. That shift in perspective is worth more than any single tip in this article.
My honest recommendation: demand fit transparency from the brands you shop. Look for brands that publish detailed size charts, provide fit notes on every product page, and offer made-to-order options for women who fall between standard sizes. Your measurements are not the problem. The industry’s approach to grading often is. You deserve clothes designed for your actual body, not a scaled-up version of a straight-size pattern.
— Latoya
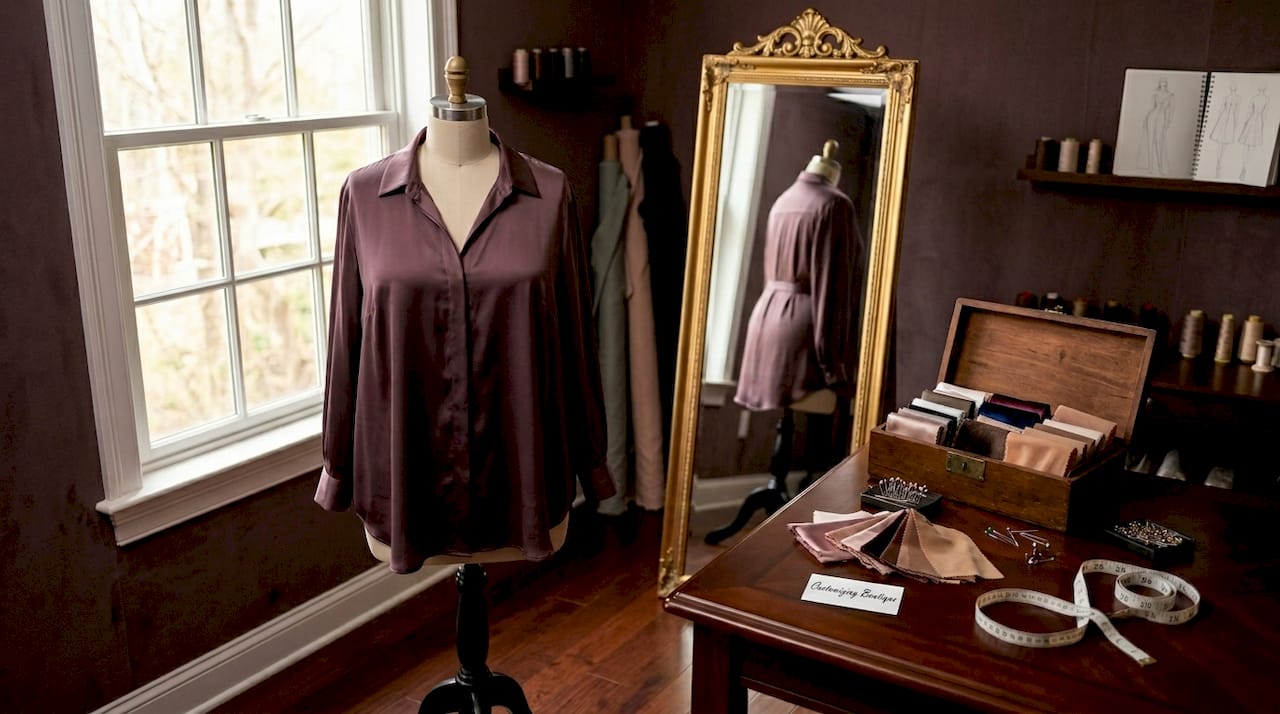
Shop custom plus size pieces made to your measurements
At Primadonsanddonnas, every piece in the made-to-order dress collection is built to your exact measurements. No guessing on size charts. No hoping the fit notes are accurate. You provide your measurements, and the garment is cut to fit your body. That solves the neckline gaping, armhole pinching, and thigh tightness that standard sizing creates. The custom apparel collection covers everything from party looks and concert outfits to wedding guest dresses and lunch date styles. Ready-to-ship options are also available for faster delivery. Bold style, real fit, made for you.
FAQ
What measurements do I need for a plus size fit checklist?
You need bust, waist, hips, high hip, inseam, and bicep measurements. Match these to each brand’s size chart rather than relying on your usual size label.
How do I test fabric recovery at home?
Pull the fabric firmly and hold for 5 to 10 seconds, then release. Fabric with good recovery snaps back immediately. Slow or incomplete return means the garment will sag with wear.
Why do plus size garments often fit poorly in the armhole?
Armhole issues usually result from patterns scaled up without adjusting the bicep and armhole circumference. Providing your bicep measurement when ordering custom pieces solves this directly.
What is the sit test and why does it matter?
The sit test means fully sitting down while wearing a garment to check for thigh pulling, waistband digging, and seat strain. Stress points invisible when standing become obvious when seated.
How do I know if a bra strap is digging because of the strap or the band?
Strap digging almost always signals a band fit problem. Check whether the band fits snugly on the tightest hook. If it does not, the band is too loose and the straps are compensating by bearing too much weight.


Leave a comment